How to Sublimate Mugs (Beginner-Friendly Guide)
- Stephen Lord
- 3 days ago
- 3 min read

Updated: 2 days ago


Sublimating mugs
Sublimation is one of the easiest ways to put full-colour photos, logos, and designs onto mugs that look professional and last. In this guide, I’ll walk you through the basics—what you need, how to prep your image, and the exact steps to press a mug successfully.
What you’ll need
A sublimation printer (or converted inkjet) with sublimation ink
Sublimation paper
A sublimation-ready mug (poly-coated)
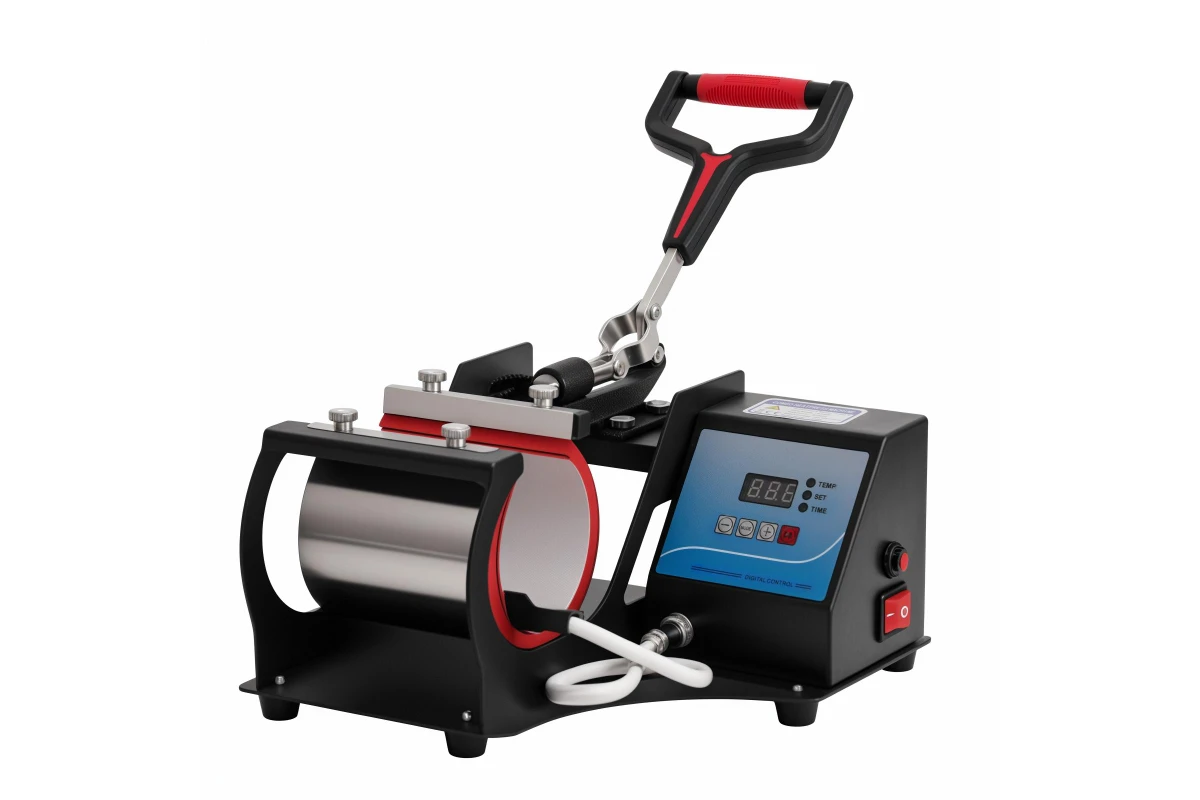
Mug press (or convection oven + shrink wraps, if that’s your setup)
Heat-resistant tape
Lint roller and/or microfiber cloth
Butcher paper (to protect your press)
Heat gloves (recommended)
Step 1: Choose the right mug
Not all mugs are made for sublimation. Look for “sublimation blanks” or “poly-coated” mugs. The coating is what allows the ink to bond permanently when heated.
Step 2: Prep your image (the part beginners often miss)
Use a high-resolution image (blurry in = blurry out).
Mirror/flip the design before printing (most mug designs need this).
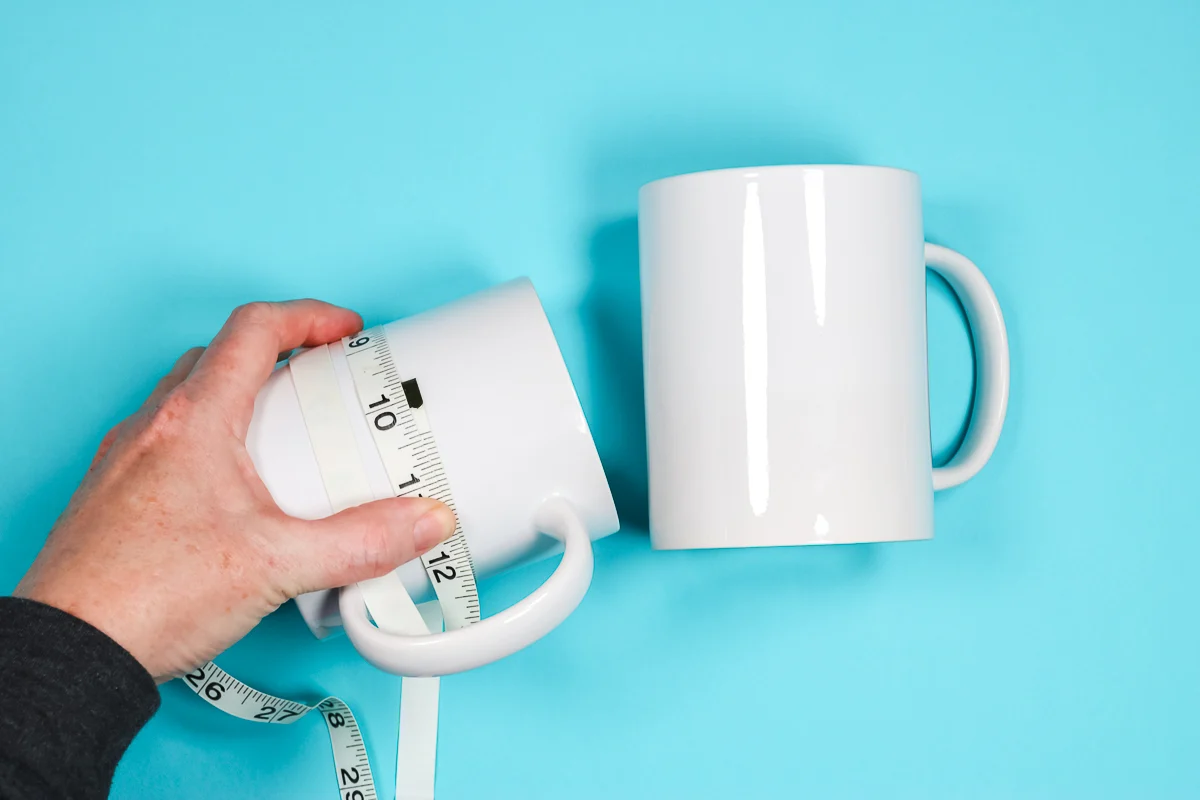
Size it to your mug’s printable area (each mug press/mug style can vary).
Tip: If you’re printing a photo, a small brightness/contrast boost can help because sublimation can look slightly dull on paper but vibrant after pressing.
Step 3: Clean the mug
Use a lint roller and/or a clean microfiber cloth to remove dust and lint. Tiny fibres can cause little blue specks or marks after pressing—cleaning helps prevent that.
Step 4: Print and tape your design
Print on sublimation paper with the correct printer settings for your setup.
Trim excess paper so it wraps neatly around the mug.
Wrap the design tightly and tape it down with heat-resistant tape (no gaps).
The goal is even contact between paper and mug. Any loose spots can cause “ghosting” (a shadow/double image).
Step 5: Press the mug
Every press and mug blank can be a little different, so always follow the recommendations for your specific mug and press. As a general starting point, many setups press around 180–200°C for roughly 150–240 seconds with firm, even pressure.
Use butcher paper inside the press to protect it from ink transfer. When the timer finishes, remove the mug carefully—it's extremely hot.
Step 6: Cool, peel, and check your result
Let the mug cool enough to handle safely (heat gloves help). Then peel the paper off. Your image should look crisp, bright, and evenly transferred.
Common beginner problems (and quick fixes)
Faded print: Increase time slightly, check temperature accuracy, or confirm the mug is truly sublimation-coated.
Ghosting/shadow: Tape tighter, avoid shifting when inserting/removing, and ensure even pressure.
Blue specks: Clean the mug better (lint/dust) and keep your paper/printer area tidy.
Uneven transfer: Check press pressure and make sure the design is wrapped evenly with no gaps.
Want a custom photo mug made for you?
If you’d rather skip the setup and get a professional result, Lord’s Custom Products can create made-to-order mugs using your images and text. Send through your design idea, and we’ll help you get it looking great on a mug.
Have a question about your first mug press? Contact us at lordscustomproducts@gmail.com or 0402 193 460.
If you're a maker of crafty things and sell online, take a moment and check out Dsers for your one-stop shop to add a huge variety of products with ease from Dsers. They are so helpful it's amazing the support they give you. Just click on this link to take you there.
Comments